
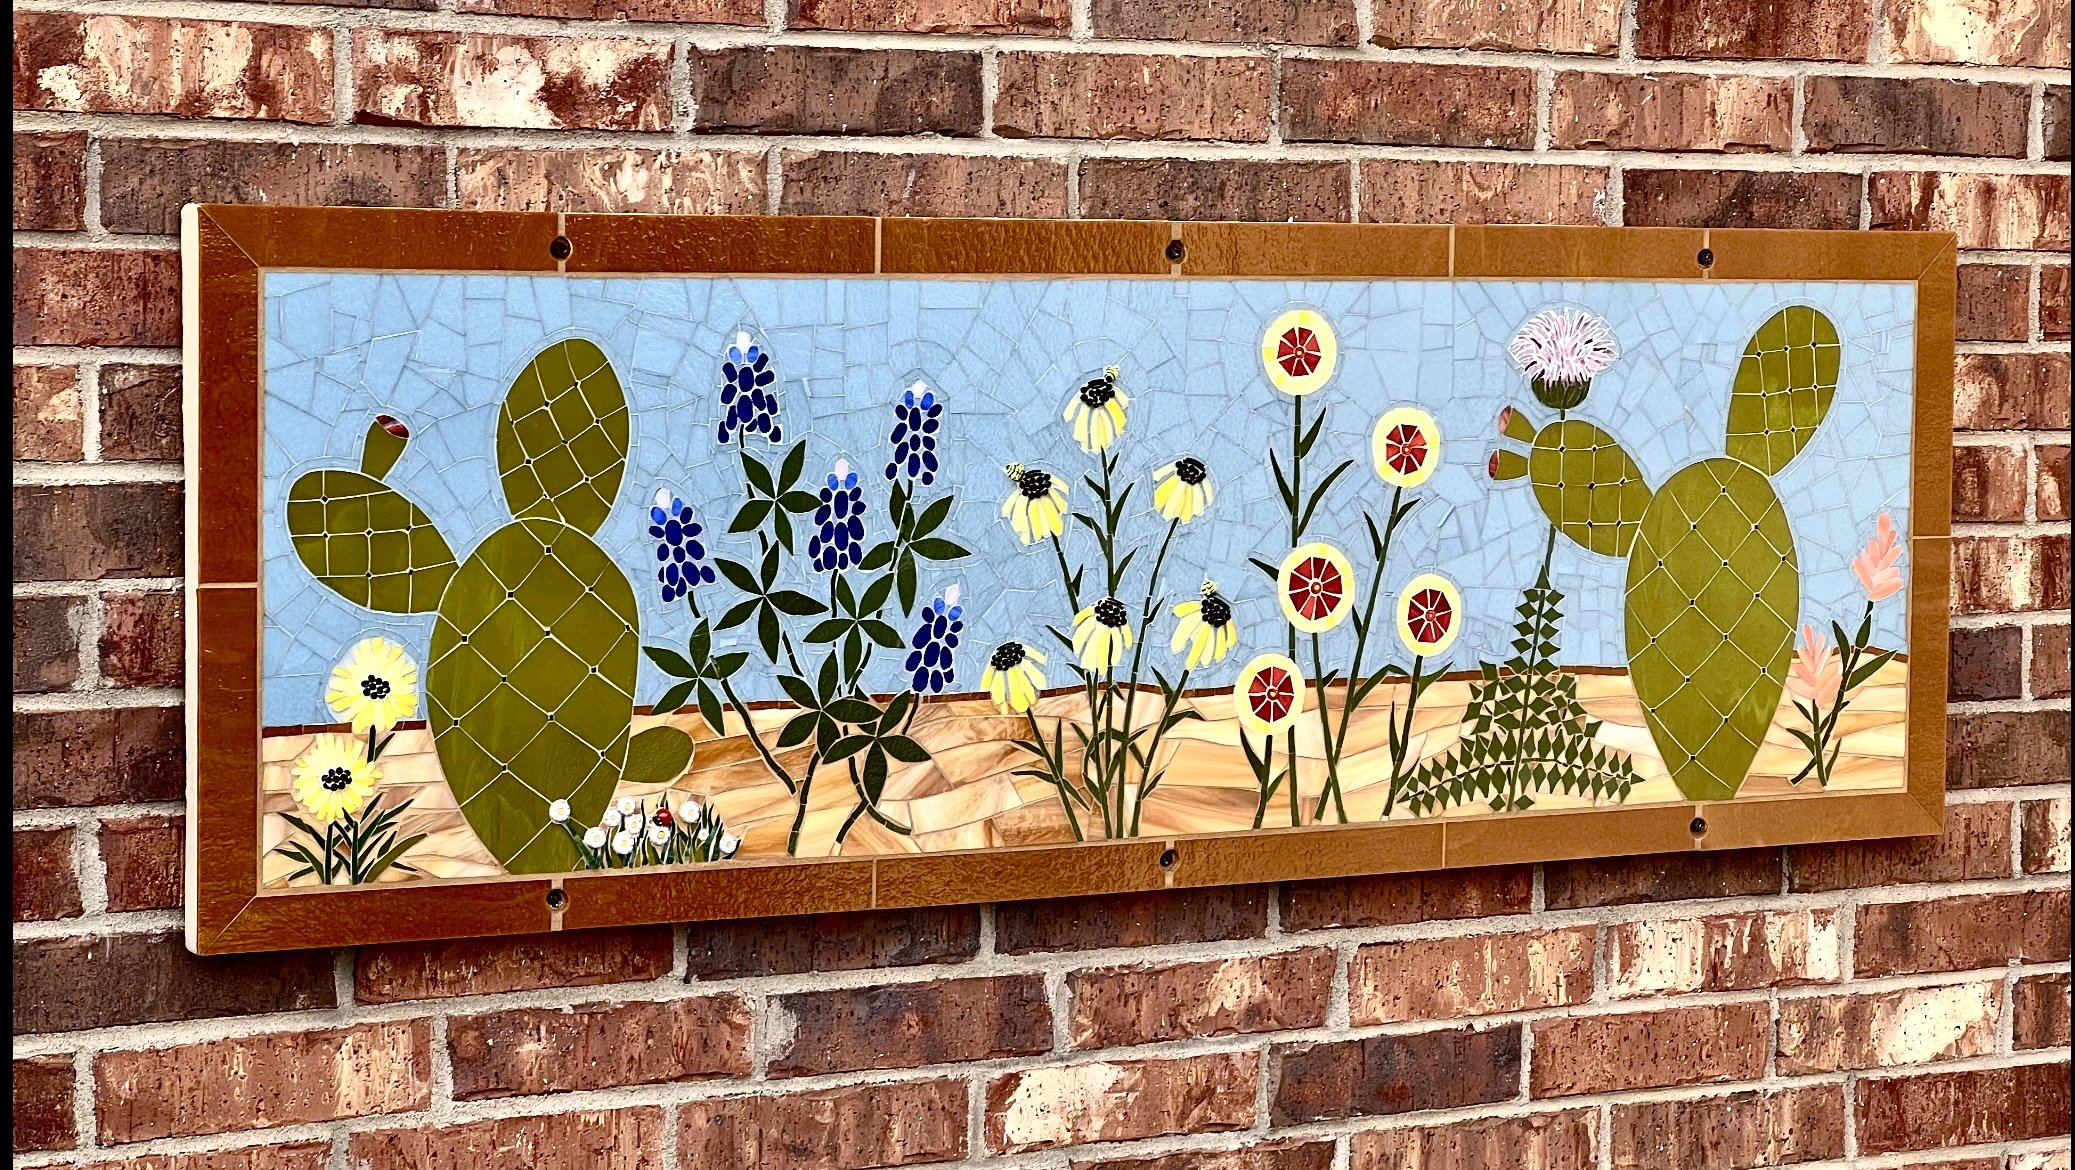
Your Custom Text Here
The process of creating custom, permanent installations is a thrilling experience. I enjoy the excitement of meeting a client and listening to their vision for the project. This meeting is usually followed by the creation of preparatory sketches, materials selections, and a pricing and timing quote. Once accepted, a flurry of activity follows: re-scaling the design to full size, ordering materials, and (sometimes) preparing a maquette. I've learned a great deal from clients and have developed a "to-do" list to help us work together most effectively:
1. Information. The client may be new to mosaic and require education to help articulate her vision. Considerations such as color, transparency/opacity of glass or other materials, placement, purpose, lighting conditions, and desired style are all-important. The second drawing illustrates the importance of the preparatory sketch; upon viewing, the client decided to exclude the cross from the mosaic, as that motif was found elsewhere in the installation space.
2. Maquette. A maquette is a small "mock up" piece rendered in the selected materials to ensure that the artist and client share a common vision for the work. The maquette provides a guide as to how the finished piece will appear and provides a visual to help the artist and client communicate in more meaningful ways.
3. Measure Twice and Create Once. As several hundred hours of work can go into a single installation, it is critical that the finished work fit the installation space. This presents a particular challenge in the presence of arches, difficult-to-reach spaces, and the like.
I've also learned it's important to plan for the unexpected. In creating the double door panels for "Come, Holy Spirit", I asked the client where the install doors would be located. I was assured they would be in an indoor, temperature-controlled space. In an abundance of caution, I tested several adhesives; subjecting them to freeze-thaw cycles and exposure to sunlight. (Only one of five passed the test!) Once the windows were completed, I learned they were to be installed in a completely different set of doors on campus, and that location was outdoors! Years later, the panels remain in great condition. (Whew!)